OS X supports the option to read NTFS-formatted drives, but has no support for writing to these drives. Previously I used OS X Fuse to enable write functionality but it requires installing multiple 3rd party drivers. Instead we can use Apple’s NTFS write functionality which is not enabled by default. Please note the following steps will have to be performed for each NTFS drive. If you need to access numerous drives then maybe 3rd party drivers are best suited for you.
Step 1: Open terminal and type the following command
sudo nano /etc/fstab
Step 2: Add the following line
LABEL=NAME none ntfs rw,auto,nobrowse
Where NAME is the label of your NTFS drive.however a more complex drive/partition name is easily entered with the use of octal code for the ascii number of spaces character. For instance, in the case above: EXTERNAL HDD, would be formatted as LABEL=EXTERNAL40HDD

Step 3: Press Ctrl + o to save the file and Ctrl + x to exit nano editor.
Step 4: Unmount your drive by pressing the eject button and reconnect the drive. Now , however it will not show up in the sidebar. In the finder window press Shift + Command + G and enter “/Volumes”
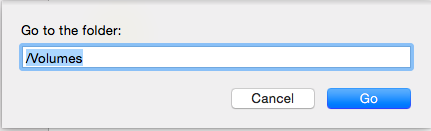
Step 5: You should see you drive here with write enabled. If you want, you can simply drag the drive back to the sidebar for easy access.
You can reverse the above process by removing the entered line in “/etc/fstab” and again remounting your drive.